
Introduction
drawing:v74uyhgg9tq= horse is an enchanting way to capture the elegance and power of these majestic creatures. Whether you’re a beginner artist or someone looking to refine your skills, understanding how to draw a horse can be both challenging and rewarding. In this guide, we will explore “drawing a reference to a specific drawing technique for horses, and break it down into manageable steps. By the end, you’ll be equipped with the knowledge and confidence to create stunning horse drawings.
Getting to Know Horse Anatomy
Before diving into drawing a horse, it’s crucial to understand its anatomy. Horses have a distinct skeletal and muscular structure that influences their posture and movement. Begin by familiarizing yourself with the basic components: the head, neck, torso, legs, and hooves. Each part contributes to the overall grace and strength of the horse.
Key Elements to Focus On
When drawing a horse, pay attention to key elements such as the proportions of the body, the length of the legs, and the shape of the head. Understanding these fundamentals will help you create more realistic and accurate drawings. Use reference images and study real horses to get a sense of how these elements come together.
Essential Drawing Tools
To start your journey in horse drawing, you’ll need a few essential tools. Pencil, eraser, sketchbook, and possibly some colored pencils or markers are all you need to get started. For beginners, a set of graphite pencils ranging from 2H to 6B will be useful for creating various shades and details.
Choosing the Right Paper
Selecting the right paper is also important. Choose a sketchbook or drawing paper that can handle multiple layers of pencil work and erasing. High-quality paper will help you achieve cleaner lines and better shading.
Starting with Simple Shapes
Begin your drawing by sketching the basic shapes that form the horse’s body. Use circles for the head and torso, and lines for the legs and neck. These simple shapes will serve as the foundation for more detailed work later on.
Refining the Outline
Once you have the basic shapes in place, start refining the outline. Focus on adding details such as the contours of the muscles and the joints. Pay attention to the proportions and adjust as necessary to achieve a more accurate representation.
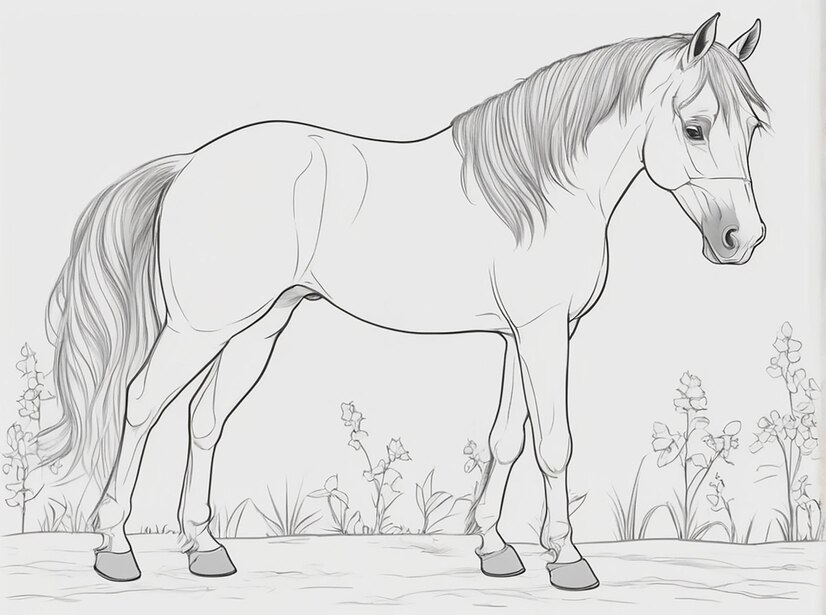
Capturing the Horse’s Unique Features
With the basic outline in place, begin adding details such as the mane, tail, and facial features. Observe reference images to understand the texture and flow of the mane and tail. For the face, pay attention to the eyes, ears, and nostrils. These details will bring your drawing to life.
Working on Shading and Texture
Shading adds depth and dimension to your drawing. Use different pencil grades to create light and dark areas, giving the horse a three-dimensional appearance. Pay attention to the direction of light and how it affects the horse’s body. Practice blending techniques to achieve smooth transitions.
Enhancing the Final Details
At this stage, focus on refining the details. Ensure that the shading is consistent and that the textures are well-defined. Use an eraser to highlight areas where light would naturally hit, such as the top of the mane or the highest points of the muscles.
Evaluating and Adjusting Your Work
Take a step back and evaluate your drawing as a whole. Look for any areas that need adjustment or improvement. Make any necessary changes to ensure that your drawing captures the essence of the horse.
Finalizing Your Drawing
Once you’re satisfied with your drawing, add any final touches. Clean up any stray lines and ensure that your shading is well-blended. You may choose to add a background or additional elements to complement your horse drawing.
Presenting Your Artwork
Consider how you want to present your drawing:v74uyhgg9tq= horse. You can frame it, create a digital version, or share it with others. Presenting your artwork in a professional manner can enhance its impact and showcase your hard work.
Read also: Exploring the Power of https //www.microsoft.com /ink